
If you enjoy sewing and want to create something both practical and visually appealing, learning a pie carrier sewing pattern is an excellent choice. This project allows you to carry pies, cakes, and dishes safely while adding a handmade, personalized touch that stands out.
Moreover, this type of sewing project is perfect for beginners and intermediate crafters alike. It combines simple techniques with a highly functional result, making it ideal for learning and improving your skills. Whether you want to create something for your kitchen, as a gift, or even to sell, a pie carrier is a smart and versatile option.
In this complete guide, you will learn every step in detail, with clear explanations, suggested images, and diagram prompts that will help you visualize and execute the project with confidence.
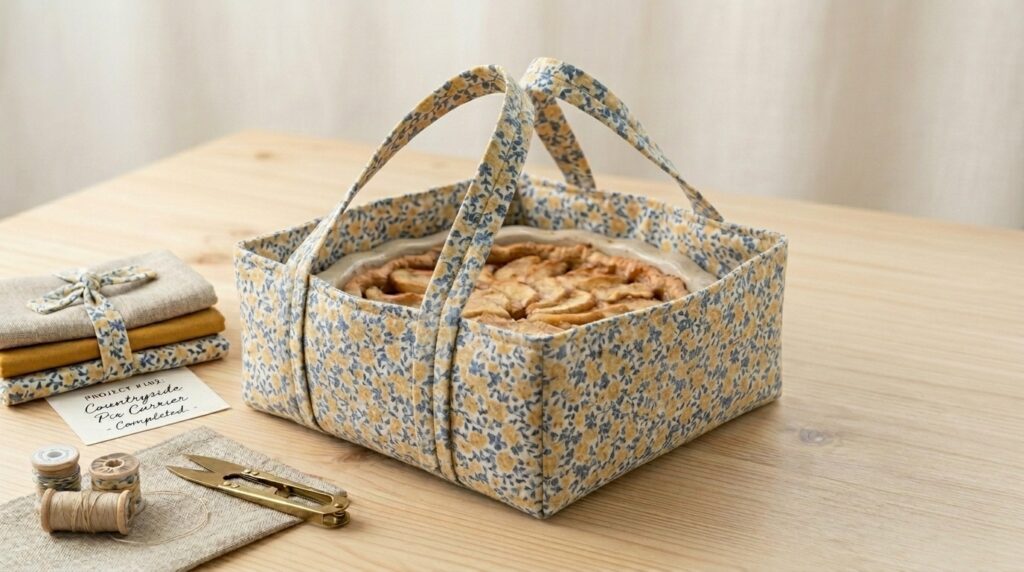
Materials Needed for the Pie Carrier Sewing Pattern
Before starting, it is important to gather all your materials. Being prepared will make your sewing process smoother and more enjoyable.
You will need:
- Cotton fabric (two different patterns or colors)
- Batting (for structure and insulation)
- Strong sewing thread
- Scissors or rotary cutter
- Quilting ruler
- Sewing machine
- Pins or clips
- Iron
Choosing high-quality fabric will significantly improve the final look. Additionally, selecting complementary colors or patterns will give your pie carrier a professional and stylish finish.
Cutting the Fabric: Preparing the Base
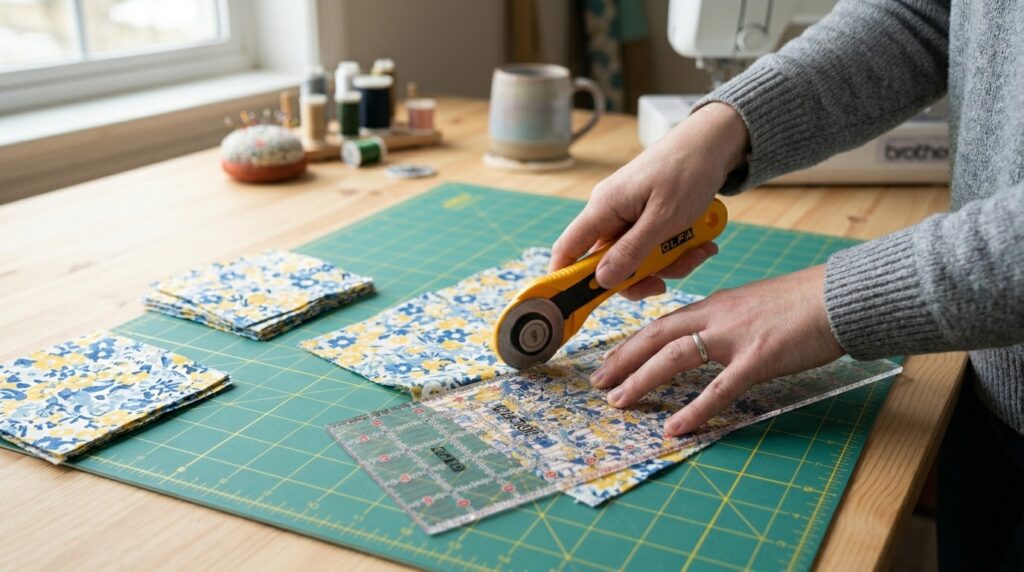
This is the first practical step of your project. Accurate cutting ensures that all pieces align correctly and that your final product looks neat and professional.
Take your time during this stage, as precision here will prevent issues later on.
Steps:
- Cut two large fabric squares (one for the outer layer and one for the inner lining)
- Cut one square of batting in the same size
- Cut long strips of fabric for the handles
Layering the Fabric and Batting
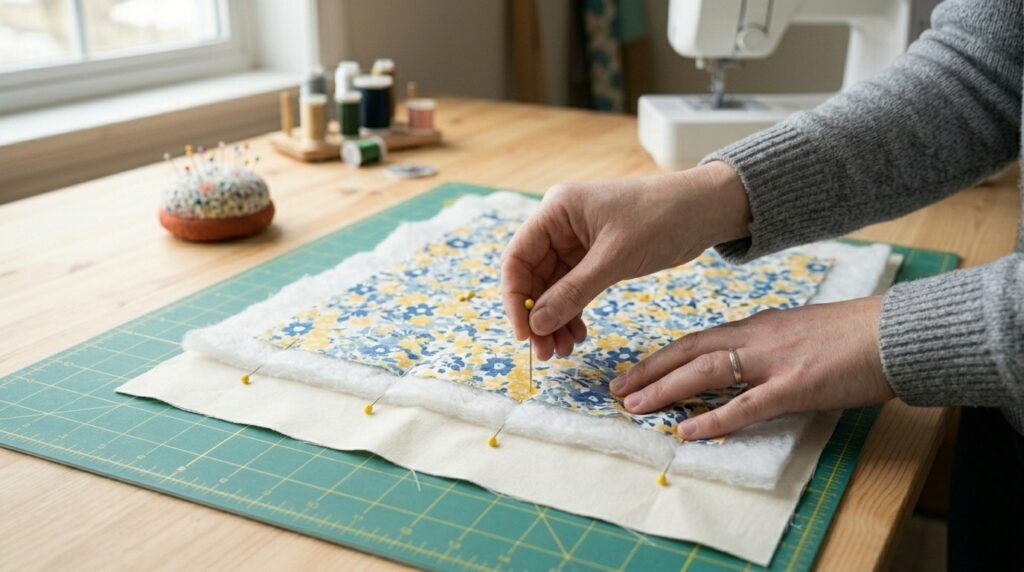
Now that your pieces are cut, it’s time to assemble the layers. This step gives your pie carrier structure and durability.
Proper alignment is key here, so take your time to position everything correctly.
Steps:
- Place the batting between the two fabric squares
- Align all edges carefully
- Secure the layers with pins or clips
Sewing the Base
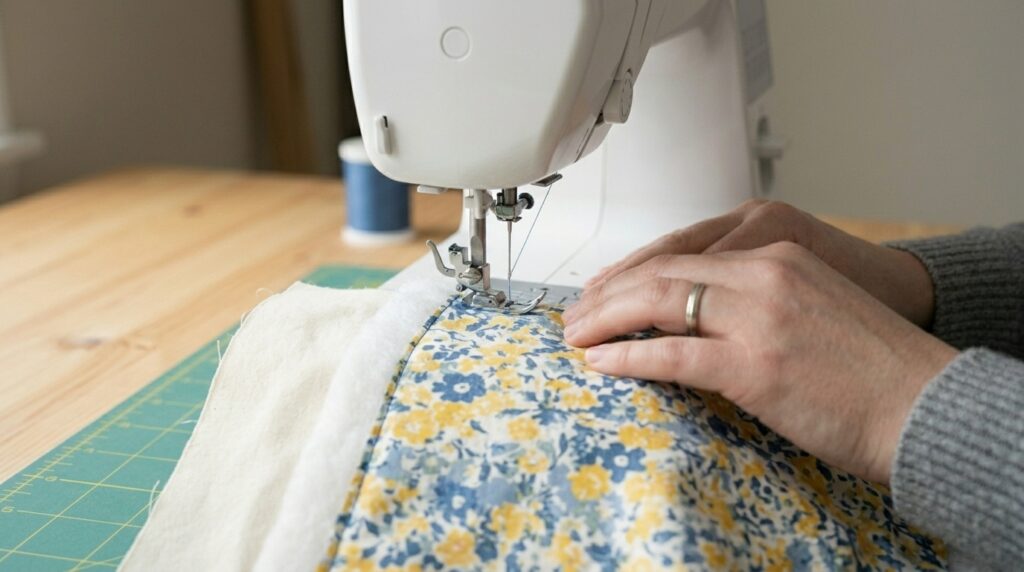
This step secures the layers together and forms the foundation of your pie carrier.
Take care to sew evenly and maintain straight lines for a clean finish.
Steps:
- Sew around the edges of the square
- Leave a small opening
- Turn the fabric right side out
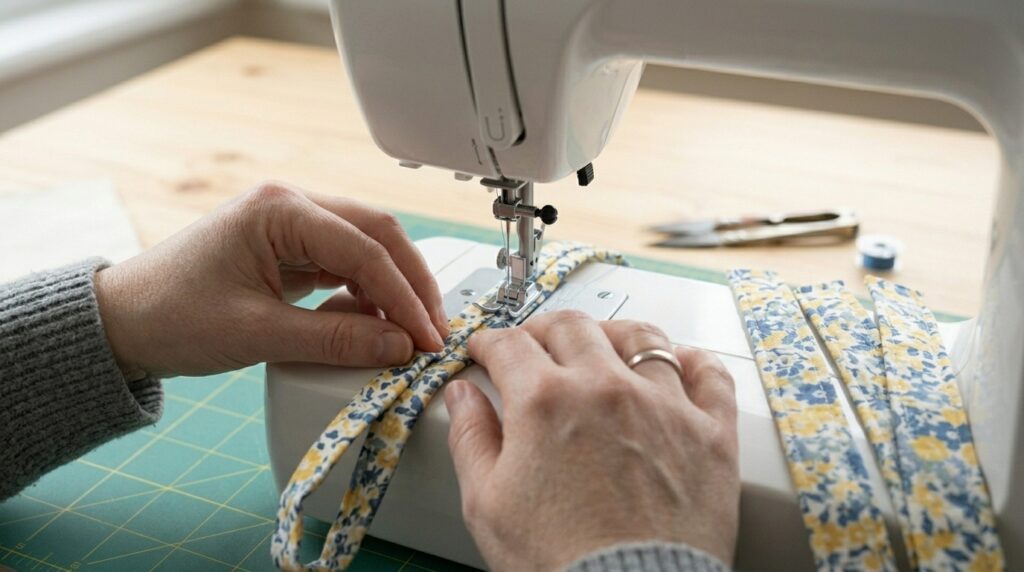
Creating the Handles in the Pie Carrier Sewing Pattern
Handles are essential for functionality. They must be strong, well-stitched, and properly sized.
This step allows you to customize the look and strength of your pie carrier.
Steps:
- Cut fabric strips for handles
- Fold the strips inward
- Sew along the edges to secure
Attaching the Handles
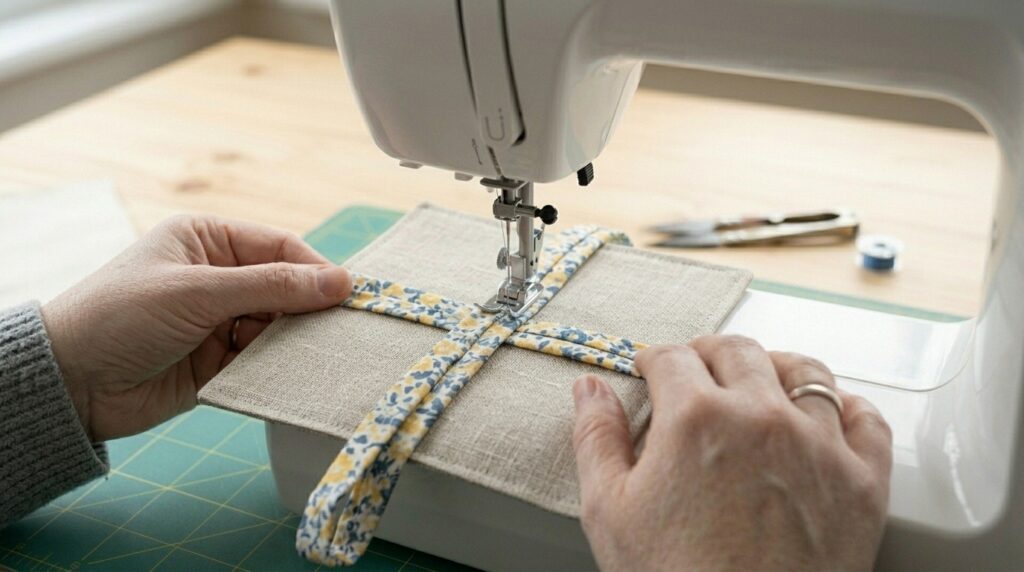
Now it’s time to attach the handles to the base. This is where your project starts to take its final shape.
Correct placement ensures balance and usability.
Steps:
- Position the handles in a cross shape
- Align them symmetrically
- Sew securely at the ends
Final Assembly and Finishing
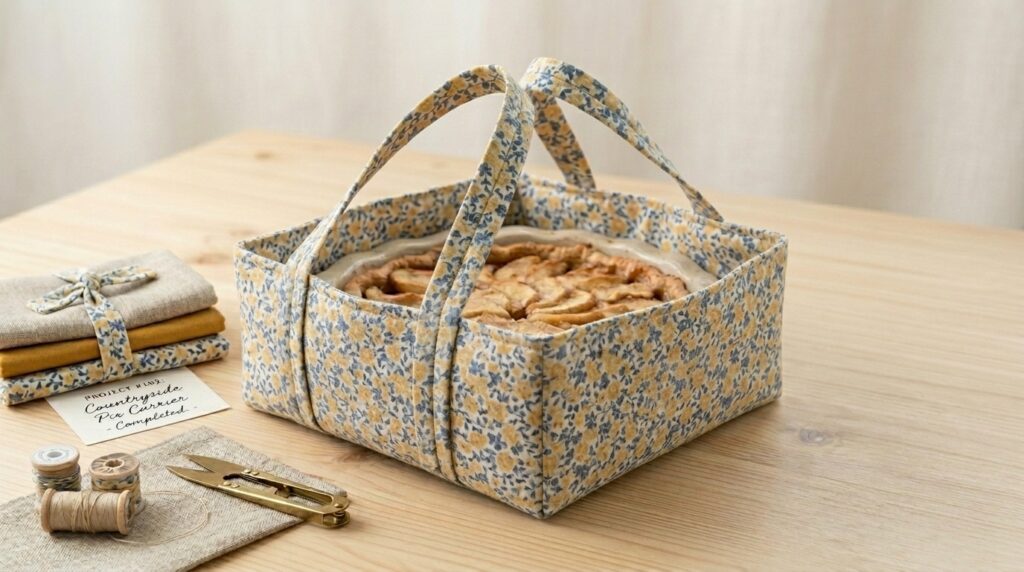
This final stage brings everything together and adds the finishing touches that make your pie carrier look polished.
Attention to detail is especially important here.
Steps:
- Close the opening with a clean stitch
- Press the fabric with an iron
- Adjust and shape the carrier
Common Mistakes to Avoid
Even simple sewing projects can go wrong if you’re not careful. Being aware of common mistakes can save time and frustration.
Some common issues include:
- Inaccurate fabric cutting
- Misaligned layers
- Weak handle stitching
- Skipping reinforcement
Taking your time and double-checking your work helps avoid these problems.
Tips for a Professional Finish
If you want your project to stand out, small details make a big difference.
- Press fabric at every stage
- Use strong, matching thread
- Sew slowly for accuracy
- Reinforce stress points
These techniques can elevate your project from beginner to professional level.
How to Turn This Into a Business
A well-made pie carrier is not just practical — it can also be a profitable product.
You can:
- Sell handmade carriers online
- Offer custom designs
- Create themed collections
- Promote through social media
Handmade, functional items are always in demand, especially when they combine beauty and practicality.
Creating a pie carrier sewing pattern is a rewarding project that combines creativity, functionality, and skill development. From cutting fabric to final assembly, each step contributes to a useful and attractive finished product.
With practice, you can refine your technique, experiment with designs, and even turn this skill into a source of income. The key is consistency, attention to detail, and a willingness to learn from each project.
Try making multiple versions using different fabrics and styles. This will not only improve your skills but also help you build a strong and appealing collection.